Tech Tips: Unicode
May 17, 2019
Final Draft may be the industry standard screenwriting application, but it's not just writers who use it. Producers, animators, and more can use Final Draft’s newest features to have greater control on a story from script to screen.
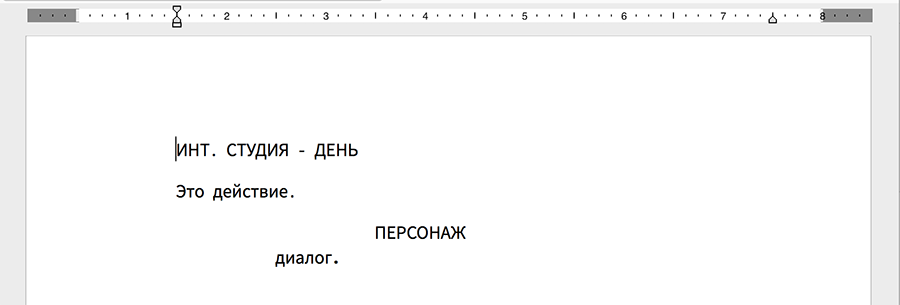
And now writers (and don't forget producers, animators, and more!) from all around the world can explore these powerful tools with the addition of Unicode Support to Final Draft 11. This means that Final Draft 11 ships with fonts that supports a wide range of languages listed HERE.
But what happens if one day some developer creates a font for Klingon or Dothraki and you subsequently want to set your world in a galaxy far, far away, or just across the narrow sea? That may be an extreme example, but if you want to use a language that isn’t on the above list you still may able to use it once the font for that particular language is installed on the machine. Here’s how:
On Mac:
- Go to Format < Elements;
- Click on the Font tab;
- Click Set Font;
- In the Font box at the upper left, select the font you want and click OK;
- Click Apply Font/Size to All Elements;
- Click OK to get back to your script and the body of the script will now be in the font you chose.
You will then need to change the font in the Header (for the page numbers and any other header text) and the Mores and Continueds.
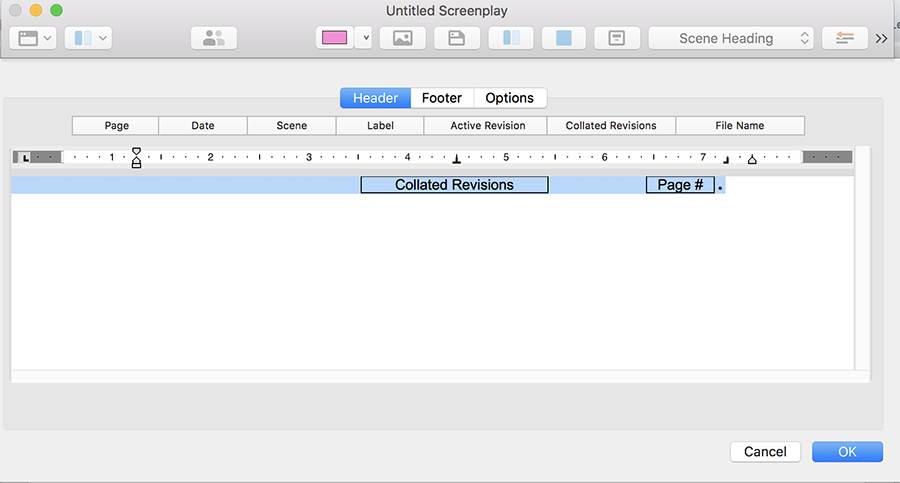
- With the script still open, go to Document > Header and Footer;
- Triple-click in this window to select everything underneath the ruler bar;
- From the top menu bar go to Format > Font;
- Select the font;
- Click OK to return to the script;
- Go to Document > Mores and Continueds and click on the Set Font button at the bottom of the window;
- Go to Format > font and select the font;
- Click OK to return to the script.

Now that you’ve set all of the Elements and Mores and Continueds to the right font, you can easily highlight all of the text in the script and change it to the right font.
To do this, go to:
Edit > Select All
Go to Format > Font and choose the correct font;
Click OK;
For Windows users, the process is generally the same, but some of the menu items are different.
On Windows:
- Go to Format > Element Settings;
- Click on the Font Tab;
- Click the Set Font;
- In the Font box at the upper left, select the font you want and click OK;
- Click Apply Font/Size to All Elements;
- Click OK to get back to your script. The body of your script is now in the font you chose.
- With the script still open, go to Document > Header and Footer;
- Press Control+A on the keyboard to select everything underneath the ruler bar;
- From the top of the menu bar go to Format > Font;
- In the Font box at the upper left, select the font you want and click OK;
- In the Header and Footer box, click OK to get back to your script;
To change the font in the Header (for the page numbers and any other header text) and the Mores and Continueds:
- With the script still open, go to Document > Header and Footer;
- Triple-click in this window to select everything underneath the ruler bar;
- From the Top Menu Bar go to Format > Font;
- Select the font;
- Click OK to return to the script;
- Go to Document > Mores and Continueds and click on the Set Font button at the bottom of the window;
- In the Font box at the upper left, select the Font you want and click OK.
Follow the same steps to change a written script in to the font you want:
Edit > Select All
Go to Format > Font and choose the correct font;
Click OK;
And voila, you’re half-way there to becoming full-on tech-savvy! Now that the font has been installed, we need to change the computer’s keyboard language input.


The links below include a comprehensive breakdown for doing this complete with detailed pictures and instructions.
For changing the keyboard input on a Mac go HERE and for Windows click HERE.
Written by: Final Draft
- Topics:
- Writing & Tools
- Discussing TV & Film

